
Affiliate disclosure: this article contains affiliate links. If you buy through them, DrawBySight may earn a commission at no extra cost to you. Read our affiliate disclosure.
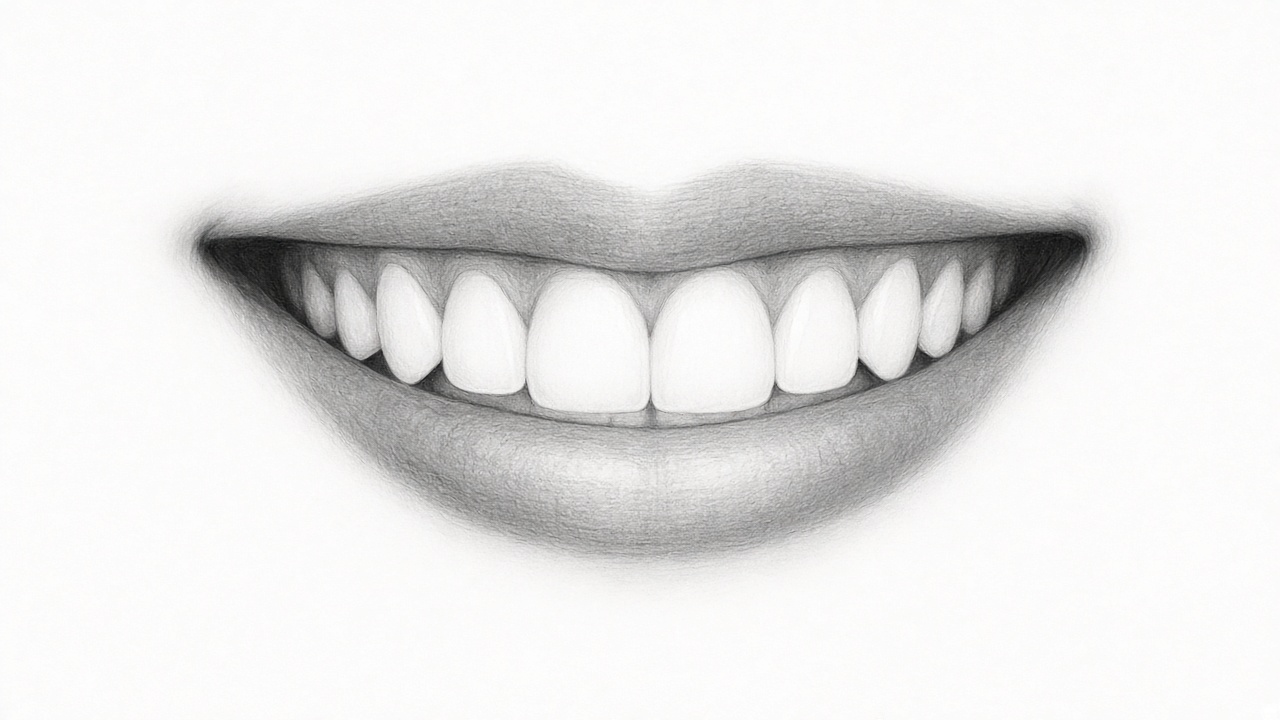
The secret to how to draw teeth realistically is to draw almost nothing. Beginners usually outline every tooth with a dark line, and the result looks like a row of piano keys or a picket fence. Real teeth in a photo are mostly white, and you can rarely see a clear edge between them. What you do see are shadows: in the gaps, toward the back of the mouth, under the upper lip and in the corners. Shade those shadows and leave the teeth themselves as clean paper, and a smile suddenly looks natural.
This tutorial shows you how to draw a smile with teeth in pencil, step by step, without outlining every tooth, plus how to handle lower teeth, braces and the most common reasons drawn teeth look fake.
How to draw teeth that look real
- Never outline each tooth. Separate teeth with soft shading in the gaps, not lines.
- Teeth get darker toward the back. Only the front two to four teeth are close to white.
- Shade the gums and the mouth interior first; the dark shapes around the teeth define them.
- Use hard, light pencils on the teeth (2H, H) and soft pencils (4B to 8B) only in the corners and gaps.
- Leave the paper white for highlights; that is what makes teeth look white and slightly wet.
Why drawn teeth often look fake
Before the steps, it helps to know what goes wrong. Teeth look fake in a drawing for a handful of reasons:
- Dark outlines around each tooth. In reality, neighbouring teeth touch, and the boundary is usually a faint, soft change in tone.
- Every tooth the same brightness. Teeth curve around the jaw like a horseshoe, so the ones further back turn away from the light and fall into the shadow of the cheeks.
- Too many teeth. In a typical smile you’ll see perhaps six to ten upper teeth clearly, with the rest disappearing into shadow.
- Equal-sized rectangles. The two front incisors are the widest; the teeth beside them are narrower, then the canines are more pointed, and each tooth looks narrower as the arch turns away from you.
- No shadow from the upper lip. The lip casts a soft shadow across the top of the teeth.
Fix these and the teeth stop looking pasted in.
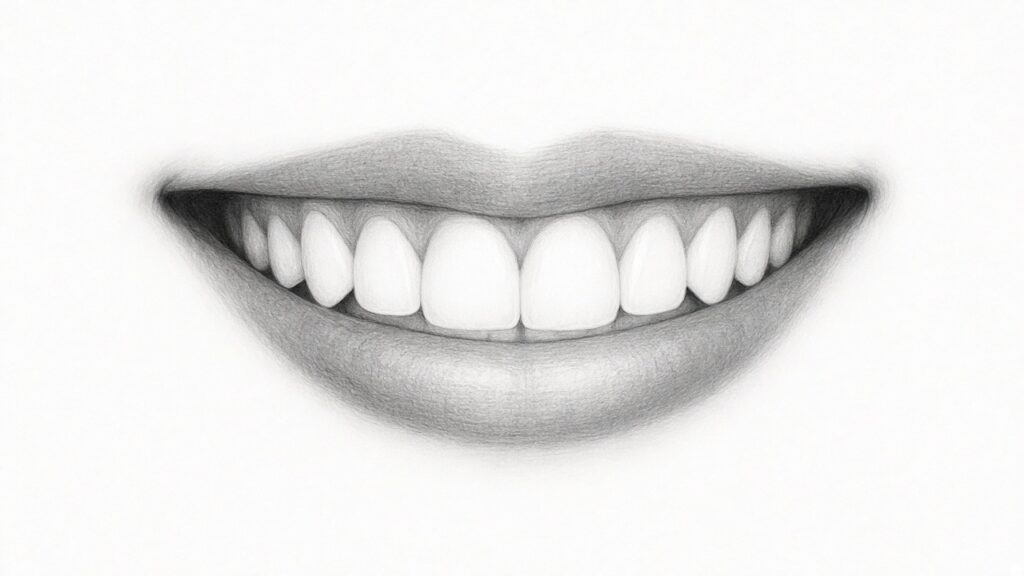
Materials for drawing teeth
| Tool | What it’s for |
|---|---|
| 2H or H pencil | Faint tooth shapes, the very light grey on teeth further back |
| HB pencil | Gums, shading under the upper lip, mid-shadows |
| 2B pencil | Gaps between teeth, darker gum shadows |
| 4B to 8B pencil | Corners of the mouth and the dark mouth interior |
| Blending stump | Soft gradients across teeth and gums |
| Kneaded and precision erasers | Lifting highlights and keeping teeth clean |
Smooth paper helps. Teeth need gentle, even grey tones, and a heavily textured paper makes them look speckled.
How to draw a smile with teeth step by step
Step 1: Draw the lips and the mouth opening first
Teeth live inside the mouth, so draw the shape of the opening first. Lightly sketch the upper and lower lip and the dark shape between them. If you haven’t drawn many mouths yet, our tutorial on how to draw realistic lips covers the lip shapes and shading you’ll need here.
Step 2: Find the centre line and the front teeth
Mark the centre of the mouth. Check whether the gap between the two front teeth lines up with the centre of the face; often it’s slightly off, and copying that small asymmetry makes the portrait more lifelike. Very lightly sketch the bottom edge of the two front teeth, then the teeth on either side.
Use a 2H with almost no pressure. These marks should be barely visible, because they are guides for shading, not lines that will stay.
Step 3: Shade the dark shapes around the teeth
This is the step that does most of the work. Using a 2B and then a 4B or 6B, shade:
- the dark corners of the mouth, often the darkest values in the whole face
- the gaps behind the back teeth where the mouth opens into shadow
- the dark space between the upper and lower teeth if the mouth is open
- the tongue, if visible, as a soft mid to dark tone
As these dark shapes go in, the teeth will start to appear as the lighter shapes left behind. This is called negative drawing: you draw the space around an object rather than the object itself.
Step 4: Shade the gums
Gums are a mid-tone, darker than the teeth but lighter than the mouth interior. Shade them with an HB, following their scalloped shape where they meet each tooth. Make the gums slightly darker right where they touch the teeth, which helps the teeth look like they’re coming out of the gum. If only a little gum shows, shade it softly so it doesn’t draw attention.
Step 5: Add the shadow from the upper lip
The upper lip casts a soft shadow across the top of the upper teeth. Lay a light HB tone along the top of the visible teeth and blend it downward with a stump so it fades out. This one shadow does more to set the teeth back into the mouth than anything else.
Step 6: Separate the teeth with soft shading, not lines
Now look carefully at where neighbouring teeth meet in your reference. You’ll usually see a narrow, soft grey wedge rather than a line, often darker near the gum and fading toward the biting edge. Shade these wedges lightly with an H or HB and blend them into the tooth on one side.
For the front teeth, you may barely need to separate them at all. For teeth further back, the separations get a little darker and the teeth themselves get greyer.
Step 7: Grade the teeth from front to back
Lay a very light H tone on each tooth, increasing gradually toward the corners of the mouth. The front incisors stay almost white; the canines are a touch darker; the premolars at the back may be a mid-grey. Blend each tooth smoothly so there are no visible strokes. This gradient is what makes the row of teeth curve around the jaw.
Step 8: Lift highlights and refine the biting edge
With a precision eraser, lift a small highlight on the front teeth where the light hits; it often sits near the top centre of each incisor. The biting edges of front teeth are sometimes slightly translucent and can look a touch darker or bluish-grey in a photo; add a very faint tone along the edge if your reference shows it.
Step back and compare with the reference. If any separation reads as a hard line, soften it with a kneaded eraser.
How to draw lower teeth
Lower teeth are usually smaller and partly hidden by the lower lip. In many smiles you’ll only see their biting edges, and they’re in more shadow than the upper teeth because the upper lip and upper teeth shade them. Shade them a step darker than the upper teeth and keep detail to a minimum. Too much detail on the lower teeth makes the mouth look crowded.
How to draw teeth with braces
Braces are mostly a matter of small, accurate highlights and shadows:
- Draw the teeth exactly as above, keeping them light.
- Draw the brackets as small squares on each tooth, shaded mid-grey with a dark edge on the side away from the light.
- Add the wire as a thin dark line with a broken highlight along it.
- Lift a tiny, sharp highlight on each bracket with a precision eraser.
Keep everything consistent with the light direction: brackets on the teeth toward the back of the mouth should be darker and less shiny.
Troubleshooting: why do my drawn teeth look fake?
| Problem | Cause | Fix |
|---|---|---|
| Teeth look like a picket fence | Dark outlines around every tooth | Erase the outlines and replace them with soft grey wedges near the gum |
| Teeth look grey and dirty | Shading over the front teeth with a soft pencil | Lift with a kneaded eraser and use only 2H or H on teeth |
| Teeth look flat, like a strip | All teeth the same tone | Grade from white at the front to grey at the back |
| Teeth look too big | Too many teeth drawn, or the front teeth too wide | Draw only what you can see and darken the back teeth into shadow |
| Teeth don’t look white | Surroundings too light | Darken the gums, corners and mouth interior; white reads by contrast |
| The smile looks unnatural | Teeth perfectly symmetrical and even | Copy small irregularities from the reference |
The last point matters in portraits. Slightly uneven teeth, a small gap or a tooth that sits forward are part of a person’s likeness. If you straighten them, the portrait can stop looking like the person.
Fitting teeth into a full portrait
In a full portrait, the teeth should be one of the lighter areas of the face, but usually not quite the lightest. The catchlights in the eyes and the highlights on the nose and forehead are often brighter. If your teeth are glaring white compared with the rest of the face, lay a very light H tone over all of them to bring them back. For overall value balance across the face, see our guide on how to shade a face, and for accurate placement of the mouth relative to the eyes and nose, grid method drawing is a simple way to transfer a portrait from a photo.
If you’d like to see this demonstrated, the mouth lessons in the Pencil Drawing Made Easy course show how to make teeth look sparkly and white, including reflections on the teeth, in closed, open and smiling mouths.
Frequently asked questions
Should you outline teeth when drawing them?
No. Outlining each tooth is the most common reason drawn teeth look fake. Shade the dark shapes around the teeth, the gums, gaps and corners, and separate teeth with soft grey wedges near the gum line instead of lines.
How do you make teeth look white in a pencil drawing?
Leave the front teeth as almost untouched paper, use only a hard pencil like 2H or H for any tone on them, and darken the surrounding areas. White looks whiter next to dark gums, shadowed corners and the mouth interior.
How do you draw a realistic smile with teeth?
Draw the lips and the mouth opening first, shade the dark corners and gaps, then the gums and the shadow from the upper lip. Only after that, separate the teeth with soft shading and grade them from bright at the front to grey at the back.
How many teeth show in a smile?
It depends on the person and the smile. In many smiles you’ll see six to ten upper teeth clearly, with the back teeth fading into shadow and only the edges of a few lower teeth visible. Draw what you see in your reference, not what you know is there.
How do you draw lower teeth?
Keep them smaller and darker than the upper teeth, because they sit in the shadow of the upper lip and teeth. Often only their biting edges are visible, so use minimal detail.