
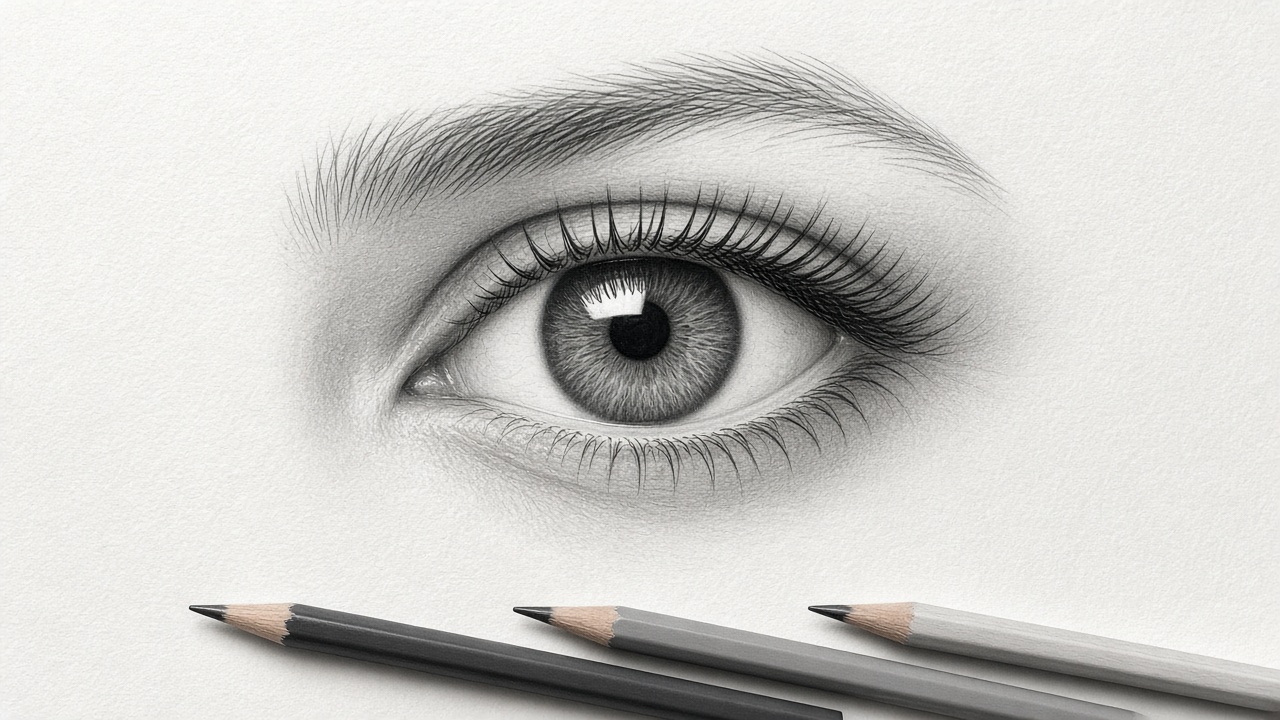
Affiliate disclosure: this article contains affiliate links. If you buy through them, DrawBySight may earn a commission at no extra cost to you. Read our affiliate disclosure.
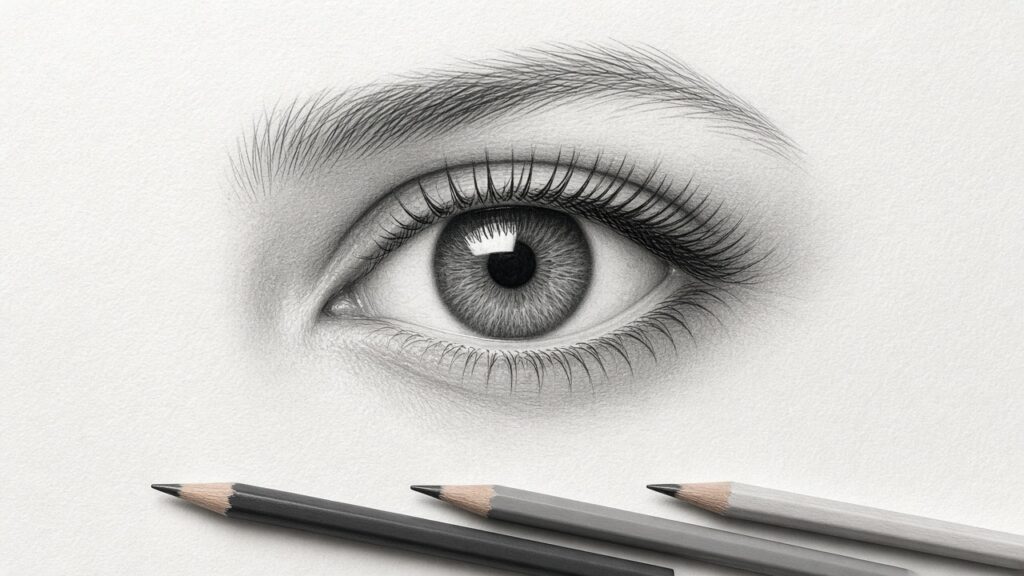
Learning how to draw a realistic eye is usually the first big goal for anyone who wants to draw portraits from photos, and it is also where most beginners get stuck. The eye is small, everyone knows exactly what one looks like, and tiny errors in shape or tone make it look flat, staring or cartoonish. The good news is that a realistic eye is not about talent. It comes from a clear order of steps, the right pencil grades and a light hand.
This guide walks you through drawing a realistic eye in pencil from a reference photo, step by step, with the grades and pressure to use at each stage, the mistakes that trip up beginners and how to fix them.
How to draw a realistic eye: the short version
- Draw the shapes you see, not the symbol you know. The eye is a ball sitting in a socket, partly covered by lids.
- Work light to dark: 2H or H for the outline, HB and 2B for midtones, 4B to 8B only for the pupil and darkest lash line.
- Plan the catchlight first and protect it. It is the single biggest clue that an eye is wet and alive.
- Shade the white of the eye. It is never pure white; it is a sphere with shadows at the corners and under the upper lid.
- Lashes come last, in clumps, with quick tapered strokes.
What you need to draw a realistic eye
You don’t need an expensive kit. A basic set of graphite pencils and a couple of erasers is enough to draw a convincing eye.
| Tool | What it’s for |
|---|---|
| 2H or H pencil | Light construction lines, the white of the eye, soft skin tones |
| HB pencil | Midtones on the iris and lids |
| 2B pencil | Darker iris tones, creases, shadow under the upper lid |
| 4B, 6B or 8B pencil | Pupil, dark outer ring of the iris, the lash line, lashes |
| Kneaded eraser | Lifting highlights and softening edges by dabbing, not rubbing |
| Precision eraser (pen-style) | Sharp highlights, the moisture line on the lower lid |
| Blending stump or tissue | Smoothing skin around the eye |
| Smooth drawing paper | Bristol smooth or a smooth drawing paper takes fine detail well |
A good reference photo matters more than any tool. Choose a sharp, well-lit close-up where you can clearly see the iris pattern, the catchlight and the individual lashes. Print it or display it at the same size you plan to draw, which makes measuring much easier. If you’re drawing the whole face, our guide to grid method drawing shows how to transfer the eye’s position accurately before you start shading.
How to draw a realistic eye step by step
Step 1: Block in the outer shape lightly
With a sharp 2H or H pencil and almost no pressure, draw the outer shape of the eye. Look for straight segments and angles rather than a smooth almond. The upper lid usually has its highest point closer to the inner corner, and the lower lid’s lowest point sits closer to the outer corner. Mark the tear duct at the inner corner as a small, separate shape.
Keep these lines so faint you can barely see them. They are guidelines that will disappear under shading, not outlines that stay in the finished drawing.
Step 2: Place the iris and pupil
The iris is a circle, but on almost every eye the upper lid covers the top part of it, and often the lower lid touches or covers the bottom edge. This is one of the most common beginner mistakes: drawing the whole circle floating in the white makes the eye look shocked or frightened.
Use a circle template or draw the circle lightly freehand, then erase the part hidden by the lid. Place the pupil in the centre of the iris. Check the size against your reference; the pupil changes size with the light.
Step 3: Mark the catchlight and protect it
Find the catchlight in your reference, the bright reflection of the light source, often overlapping the pupil and iris. Outline it very lightly. From this point on, don’t shade over it. Preserving clean white paper is far easier than trying to erase a bright highlight back out of dense graphite later.
Step 4: Shade the pupil and the iris
Fill the pupil with a 4B to 8B pencil, building up two or three layers with light to medium pressure rather than pressing hard once. Hard pressure crushes the paper’s tooth and leaves a shiny surface that won’t take more graphite.
For the iris:
- Lay an even base tone with HB, leaving the catchlight white.
- Darken the outer edge of the iris with 2B to create the limbal ring, the dark band that makes eyes look youthful and defined.
- Draw the iris fibres as fine lines radiating from the pupil like spokes, using a sharp HB and 2B. Vary their length and darkness; don’t make them perfectly regular.
- Lift a few lighter fibres with the edge of a kneaded eraser or a precision eraser.
- Darken the top of the iris under the upper lid. The lid and lashes cast a shadow on the eyeball, and this shadow is what makes the eye sit inside the face instead of on top of it.
Step 5: Shade the white of the eye
The sclera is not white paper. It’s a sphere, so it gets darker toward the corners and under the upper lid. Use a 2H or H pencil with very light pressure and soft, overlapping strokes, then blend gently with a stump. Leave the brightest area next to the iris on the lit side.
If your reference shows tiny blood vessels, add only a few, faint, with a sharp H. Too many make the eye look sore.
Step 6: Make the eye look wet
Wet-looking eyes come from three details:
- The catchlight you protected in Step 3. Make sure it is the brightest spot in the drawing and has a crisp edge.
- The moisture line, a thin bright edge along the lower lid where it meets the eyeball. Lift it with a precision eraser or leave it as untouched paper.
- Reflections in the tear duct. A tiny highlight in the pink inner corner gives it a glossy look.
Keep the contrast high right around the catchlight: a dark pupil next to clean white paper reads as shine.
Step 7: Shade the lids and the socket
Now shade the skin around the eye, which is what makes it look recessed. Use H and HB in light layers, following the curve of the form. The crease of the upper lid is usually a soft darker band, not a hard line. The upper lid itself has thickness: draw a slightly lighter band along its edge where it catches light, above the lash line.
The area between the eye and the brow and the bridge of the nose often has the deepest skin shadows. Blend with a stump or tissue, then pick out soft highlights on the brow bone and lid with a kneaded eraser. For a deeper look at smooth skin shading, see our guide on how to shade a face.
Step 8: Add the eyelashes
Lashes are where many realistic eyes go wrong, so do them last and slowly.
- Start at the lash line and flick outward with a quick stroke, lifting the pencil so each lash tapers to a point.
- Curve them. Upper lashes grow out, then curve up. Lower lashes are shorter, sparser and grow down from the outer edge of the lower lid, not from the moisture line.
- Group them. Real lashes clump together in small groups of two or three, with gaps. Evenly spaced lashes look like a comb.
- Use a sharp 4B to 6B and medium pressure. Darken the base of the lashes so they blend into the lash line.
Step 9: Draw the eyebrow
Treat the eyebrow first as a soft tonal shape. Lay a light HB tone in the overall shape, then add individual hairs with short, tapered strokes that follow the growth direction: upward and outward near the inner end, flatter toward the tail. Leave small gaps of skin showing through. Finish by lifting a few light hairs with the edge of a kneaded eraser.
Common mistakes when drawing realistic eyes (and how to fix them)
| Problem | Why it happens | Fix |
|---|---|---|
| The eye looks flat and pasted on | The sclera is left pure white and there’s no shadow under the upper lid | Shade the white of the eye and add the lid’s cast shadow on the top of the iris |
| The eye looks surprised or staring | The full iris circle is visible | Let the upper lid cover the top of the iris |
| The eye looks dull, not wet | The catchlight is missing, small or greyed over | Lift it back with a precision eraser and darken the pupil around it |
| Hard outline around the eye | The construction line was pressed too hard | Lighten it with a kneaded eraser and redefine the edge with tone |
| Lashes look like spikes or a comb | Straight, evenly spaced, untapered strokes | Flick curved strokes, vary the length and group them in clumps |
| Shiny, patchy dark areas | Pressing hard with a soft pencil | Build darks in layers; if the surface is already shiny, a light spray of workable fixative can let you add a little more |
How to draw realistic eyes as a pair
Once you’re comfortable with one eye, drawing both in a portrait brings new problems. The gap between the eyes is roughly one eye-width, and both irises must point in the same direction or the face will look cross-eyed. Check this by drawing a light line through both pupils and comparing its angle to the reference. Also match the catchlights: they should sit in the same position in both eyes because they reflect the same light.
Draw both eyes to the same stage before finishing either one. If you complete one eye and then start the other, the second almost always ends up a different size or darkness.
Practise like this
A useful practice routine for beginners is to draw the same eye three times from one reference photo:
- A quick 20-minute value study using only HB and 2B, focusing on the big shapes of light and dark.
- A full study following all nine steps above.
- A third version where you deliberately exaggerate the contrast around the catchlight to see how far you can push the wet look.
Compare the three. You’ll usually find the second has more detail but the first has more convincing tone, which tells you where to focus next time. When you’re ready to put eyes into a full portrait, our tutorials on how to draw realistic lips and how to shade hair cover the other features you’ll need.
If you’d rather follow along with a teacher, the eye lessons in Nolan Clark’s Pencil Drawing Made Easy course cover the glossy, wet look, setting the eye into the socket, eyelashes and eyebrows in real-time video. You can read what else is included in our Pencil Drawing Made Easy review.
Frequently asked questions
What pencil is best for drawing realistic eyes?
There isn’t one best pencil. A range works better: 2H or H for light construction and the white of the eye, HB and 2B for the iris and lids, and a 4B to 8B for the pupil, lash line and lashes. Most beginners get good results with a 2H, HB, 2B, 4B and 6B.
How do you make a drawn eye look wet?
Keep a crisp, bright catchlight, add a thin bright moisture line on the lower lid and a tiny highlight in the tear duct. Put your darkest darks, the pupil and lash line, right next to those highlights so the contrast reads as shine.
Why do my eye drawings look flat?
Usually because the white of the eye is left as plain paper and there’s no shadow cast by the upper lid. Shade the sclera so it darkens toward the corners, add the lid’s shadow over the top of the iris and darken the socket around the eye.
Should you outline the eye when drawing it realistically?
Only with very light guidelines that you later shade over. In a realistic drawing, edges are shown by changes in tone, not by lines. If an outline is still visible at the end, lighten it with a kneaded eraser.
How long does it take to learn to draw a realistic eye?
It varies from person to person, but a single careful eye study usually takes one to three hours. Most beginners notice a clear improvement after drawing several eyes from good reference photos, especially if they compare each one against the photo and fix one problem at a time.