
Affiliate disclosure: this article contains affiliate links. If you buy through them, DrawBySight may earn a commission at no extra cost to you. Read our affiliate disclosure.
Learning how to shade a face is what turns an accurate outline into a portrait that looks alive. It’s also where most beginners get frustrated: the skin turns blotchy, streaky or grey, the face looks flat, and every attempt to blend makes it muddier. Smooth, realistic skin in graphite isn’t about a special pencil or a magic blending trick. It comes from mapping light and shadow correctly, building tone in thin layers and choosing when to blend and when not to.
This guide covers how to shade skin and a face in pencil step by step: understanding light on the face, the right pencils and paper, layering for smooth graphite, blending without smudging and how to fix blotchy or patchy shading.
How to shade a face: the essentials
- Map the light first. Decide where the light comes from and divide the face into light and shadow sides.
- Shade the big shapes before the details. Features come last.
- Build tone in many light layers with a sharp pencil and small, overlapping strokes.
- Blend gently and sparingly, and only after there’s an even layer of graphite to blend.
- Keep the highlights clean from the start; it’s far easier than erasing them back.
Pencils, paper and blending tools for skin
| Tool | Use on skin |
|---|---|
| 2H and H | The lightest skin tones, smooth first layers, the forehead and cheeks |
| HB | Midtones and the transition from light to shadow |
| 2B and 4B | Shadow side of the face, under the nose, chin and jaw |
| 6B or 8B | The darkest accents, mainly in the eyes, nostrils and mouth corners |
| Smooth paper (for example Bristol smooth) | Even tones without speckles from paper texture |
| Blending stump and tortillon | Controlled blending in small areas |
| Soft tissue or a soft brush | Broad, gentle blending on cheeks and forehead |
| Kneaded eraser | Lifting soft highlights and correcting tone |
Paper texture has a big effect on skin. Rough or heavily textured paper leaves tiny white specks in the tone, which can look like pores in the wrong place. A smooth paper makes even skin tones much easier.
How to shade a face step by step
Step 1: Understand light on the face
Before you shade anything, look at the reference and find:
- The light source. Where does the light come from? Most good portrait photos have one main light from above and to one side.
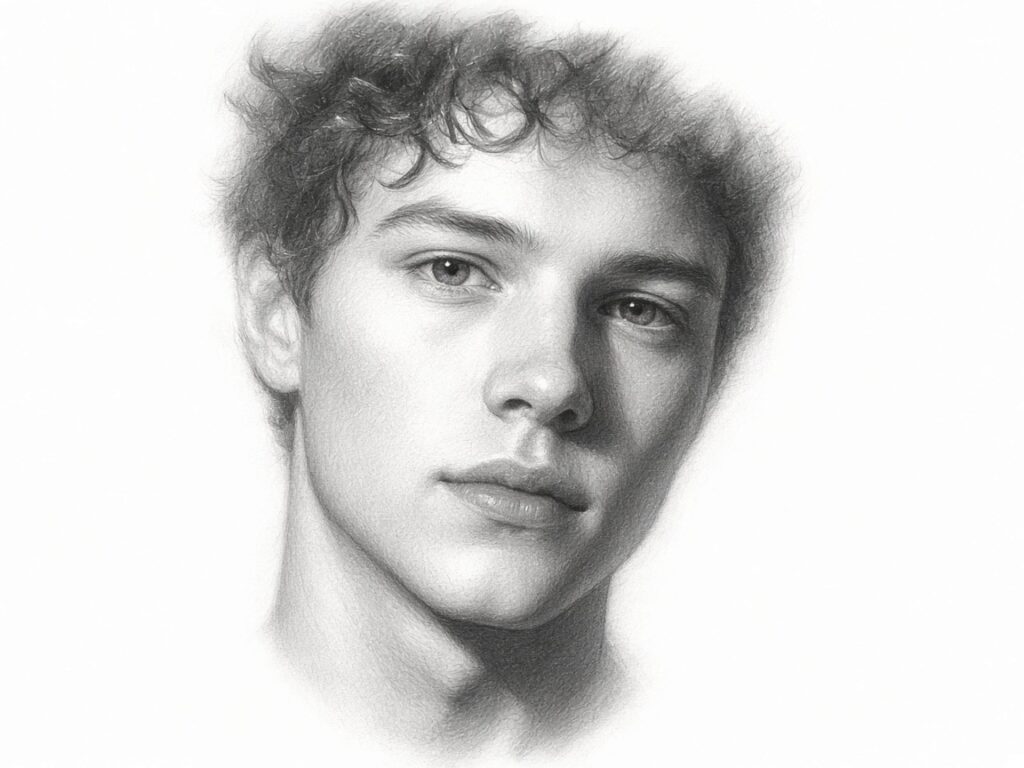
- The light side and the shadow side. Divide the face into two big areas. The boundary between them often runs down the side of the forehead, along the cheekbone and down the jaw.
- The core shadow. The darkest part of the form shadow, just inside the shadow side where the form turns away from the light.
- Reflected light. A slightly lighter zone at the edge of the shadow side, where light bounces back from the shoulders or surroundings. Keep it subtle, darker than any part of the light side.
- Cast shadows. Hard-edged shadows thrown by one form onto another, such as the nose onto the upper lip or the chin onto the neck.
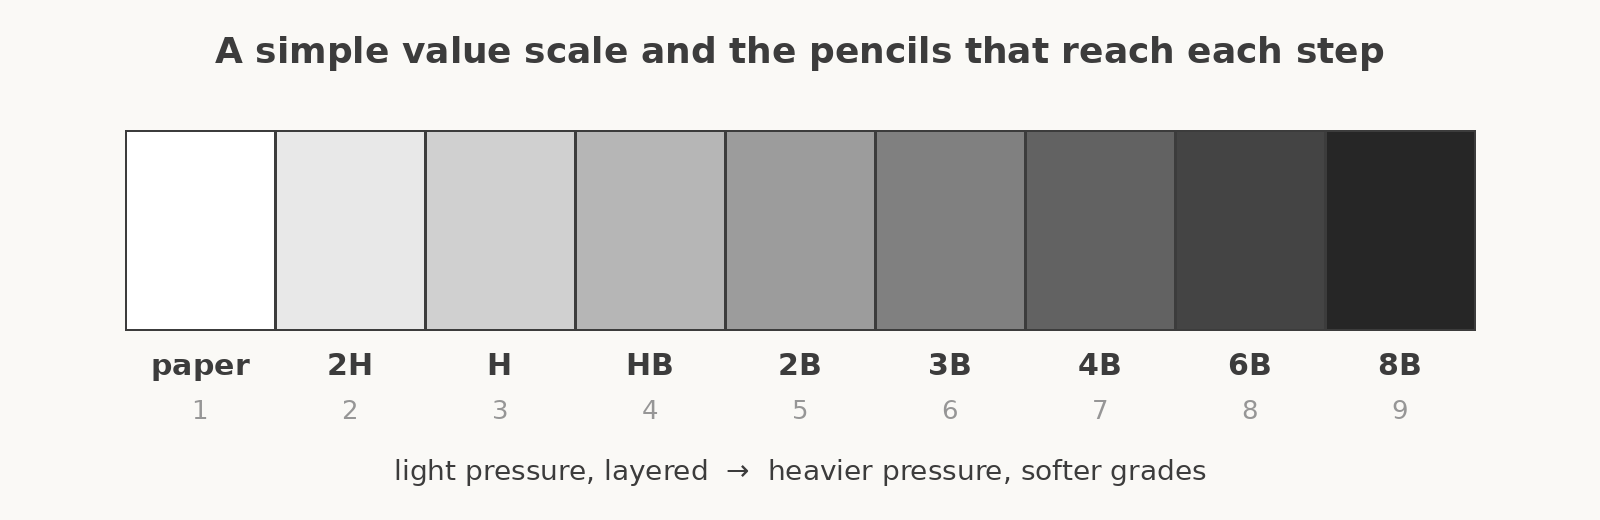
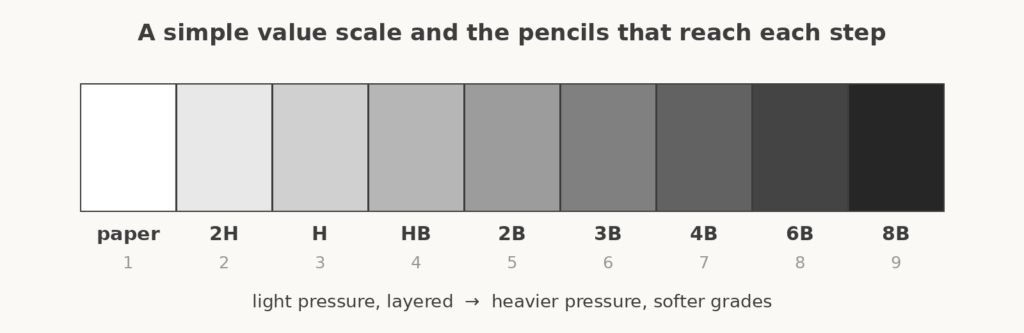
Making a quick value scale like the one above, and comparing areas of the photo to it, helps you see that skin is rarely as dark as you think, except in a few places.
Step 2: Lightly map the shadow shapes
With an H pencil and very light pressure, outline the main shadow shapes on top of your face drawing: the shadow side, the eye sockets, under the nose, under the lower lip and under the chin. These lines are guides and will disappear under tone.
If you need accurate placement first, our guide to grid method drawing explains how to transfer a portrait from a photo.
Step 3: Lay the first layer of tone
Fill the shadow shapes with an even layer of HB using small, overlapping strokes or tight, small circles, sometimes called scumbling. Keep the pencil sharp and the pressure light. The aim is an even, light tone with no visible lines. Hold the pencil further back from the tip to keep your pressure gentle.
Then lay a very light 2H or H tone over most of the light side of the face as well, leaving only the brightest highlights as clean paper: the forehead highlight, the bridge and tip of the nose, the top of the cheekbones and the chin.
Step 4: Build up the shadows in layers
Darken the shadow side gradually. Add layers with HB, then 2B and, for deeper shadows, 4B. Change the direction of your strokes slightly with each layer so they don’t stack up into visible lines. Darken the core shadow most, and leave the reflected light slightly lighter.
Layering is the key to smooth graphite. Six light layers look far smoother than one heavy layer, because each pass fills in gaps in the paper’s tooth that the previous one missed.
Step 5: Blend gently
Once there’s an even layer of graphite in an area, blend it:
- Tissue or a soft brush for broad areas like the forehead and cheeks. Use light, circular movements.
- A blending stump for smaller areas and transitions, such as the sides of the nose and around the mouth.
- A tortillon for very small areas like the corners of the eyes.
Blend from light areas toward dark ones, or keep separate stumps for light and dark tones, so you don’t drag dark graphite into highlights. Don’t blend with your finger; skin oils leave marks that graphite won’t cover evenly.
Step 6: Shade the transitions
The most realistic part of a shaded face is the transition between light and shadow. On rounded forms like the cheek, the transition is soft and gradual. On sharper forms, like the side of the nose or the jaw, it’s firmer. Look closely at your reference and match the edge quality. Too many hard edges make a face look carved; too many soft edges make it look blurry.
Step 7: Add the cast shadows and darkest accents
Add the cast shadows: under the nose, under the lower lip, under the chin onto the neck and from the hair onto the forehead. They usually have sharper edges than form shadows. Then add the few darkest accents with a 4B to 8B: nostrils, the corners of the mouth and the lash line. Keep them small; they give the face depth by contrast. For the features themselves, see our step-by-step guides on how to draw a realistic eye and how to draw realistic lips.
Step 8: Lift highlights and refine
With a kneaded eraser, lift soft highlights on the forehead, nose, cheekbones and chin. Dab rather than rub. Then step back. Compare the overall values of your drawing with the reference, squinting at both. Squinting simplifies the image into big shapes of light and dark and makes it easy to see which areas need to be darker or lighter.
How to fix blotchy or patchy shading
Blotchy shading is the number one complaint when shading skin. Here’s what usually causes it:
| Problem | Cause | Fix |
|---|---|---|
| Blotchy patches of dark tone | Uneven pressure or a dull pencil | Sharpen often, lighten pressure, and fill the light gaps between patches with light layers |
| Visible stroke lines | Strokes laid in one direction with a blunt tip | Use small overlapping circles or change stroke direction each layer |
| Shiny, slick dark areas | Too much pressure with a soft pencil, or too much blending | Use lighter layers; a light spray of workable fixative can help you add more |
| Muddy grey skin | Over-blending and too much dark pencil on the light side | Lift with a kneaded eraser and rebuild the light side with 2H or H |
| White specks in the tone | Rough paper texture | Use smoother paper, or press a little harder with a hard pencil to fill the tooth |
| Smudges and fingerprints | Hand resting on the drawing | Rest your hand on a clean sheet of paper and work from top to bottom (or left to right if you’re right-handed) |
| Face looks flat | Values too similar across the face | Darken the core shadow and cast shadows; keep a few clean highlights |
If a patch is badly overworked, dab it with a kneaded eraser to lift most of the graphite, then rebuild it in light layers. Graphite is forgiving if the paper surface hasn’t been crushed.
How to shade different skin tones in pencil
In graphite, skin tone is shown by the overall value of the face. Darker skin starts with a darker base tone across the whole face, often built with 2B and 4B, and has highlights that look brighter by contrast. Lighter skin starts with 2H and H, with soft shadows. In both cases, the method is the same: map light and shadow, layer, blend and keep the highlights clean. Avoid drawing darker skin with heavy pressure; it should still be built in layers.
Shading the rest of the portrait
Skin doesn’t exist alone. The hair and background affect how skin values read: dark hair makes skin look lighter, and a mid-tone background helps define the edge of the face on the light side. Our guide on how to shade hair covers getting hair values to match the face.
If you’d like to watch shading demonstrated in real time, Pencil Drawing Made Easy includes early lessons on seeing tonal values and shading, followed by portrait lessons on cheeks, chins, foreheads and necks.
Frequently asked questions
How do you shade a face smoothly with pencil?
Use a sharp pencil, light pressure and many thin layers of small overlapping strokes or circles. Start with hard pencils like 2H and H, add HB and 2B for shadows, and blend gently with tissue or a stump only after an even layer of graphite is down.
Why is my shading blotchy?
Usually because of uneven pressure, a dull pencil or rough paper. Sharpen often, use light layers and change stroke direction each time. Fill the light gaps between blotches rather than darkening the dark patches.
What pencil is best for shading skin?
There’s no single best pencil. Use 2H and H for light skin areas, HB for midtones, 2B and 4B for shadows and a 6B or 8B only for small dark accents. Most beginners overuse soft pencils on skin.
Should you blend when shading a face?
Yes, but gently and selectively. Blending helps create smooth skin, but over-blending makes a face look muddy and soft. Blend broad areas with tissue, smaller transitions with a stump, and keep some edges crisp, especially cast shadows.
How do you shade skin without smudging?
Rest your hand on a clean sheet of paper, work from the top of the drawing down, and avoid touching the paper with your fingers. A kneaded eraser can lift any smudges before they set.
How do you make a face look 3D when shading?
Make sure there’s a clear light side and shadow side, add a darker core shadow where the form turns, keep the reflected light subtle and add sharp-edged cast shadows under the nose, lip and chin.
1 thought on “How to Shade a Face in Pencil: Smooth Skin Without Blotches”